The CDA Corvette Installation Process
A step-by-step look at our meticulous 7-stage installation process for Corvette vehicles in our Riverside and Upland studios.
Precision at Every Step
Applying Paint Protection Film to a Corvette is an art form. The sharp angles, deep vents, and complex curves require a level of skill and patience that volume shops simply cannot provide.
At CDA Auto Styling, we have developed a proprietary 7-Stage Installation Process. We don't rush. We don't cut corners. We treat every Corvette as if it were going to a Concours d'Elegance.
From the initial decontamination wash to the final edge-wrapping and curing, here is exactly how we achieve a flawless, invisible installation.
Stage 1 & 2: Decontamination and Paint Correction
Even brand new Corvettes have embedded iron particles and minor swirl marks from the factory. We perform a chemical iron removal, a clay bar treatment, and a machine polish to ensure the paint is 100% perfect before we lock it under the film.
Stage 3 & 4: Strategic Disassembly and Custom Plotting
To hide the seams, we safely remove badges, side markers, and trim. We use advanced plotting software to cut the film, but we extend the edges by a quarter-inch so we can wrap the film deep behind the body panels.
Stage 5 & 6: Clean Room Installation and Edge Wrapping
The film is applied in our climate-controlled, well-lit installation bays using a specialized gel solution. Our technicians squeegee the moisture out and meticulously wrap every edge, using heat to lock the film in place.
Stage 7: Curing and Final Inspection
The car sits in our facility to cure. As the moisture evaporates, the film tightens. We perform a final multi-point inspection, checking every edge and corner before handing the keys back to you.
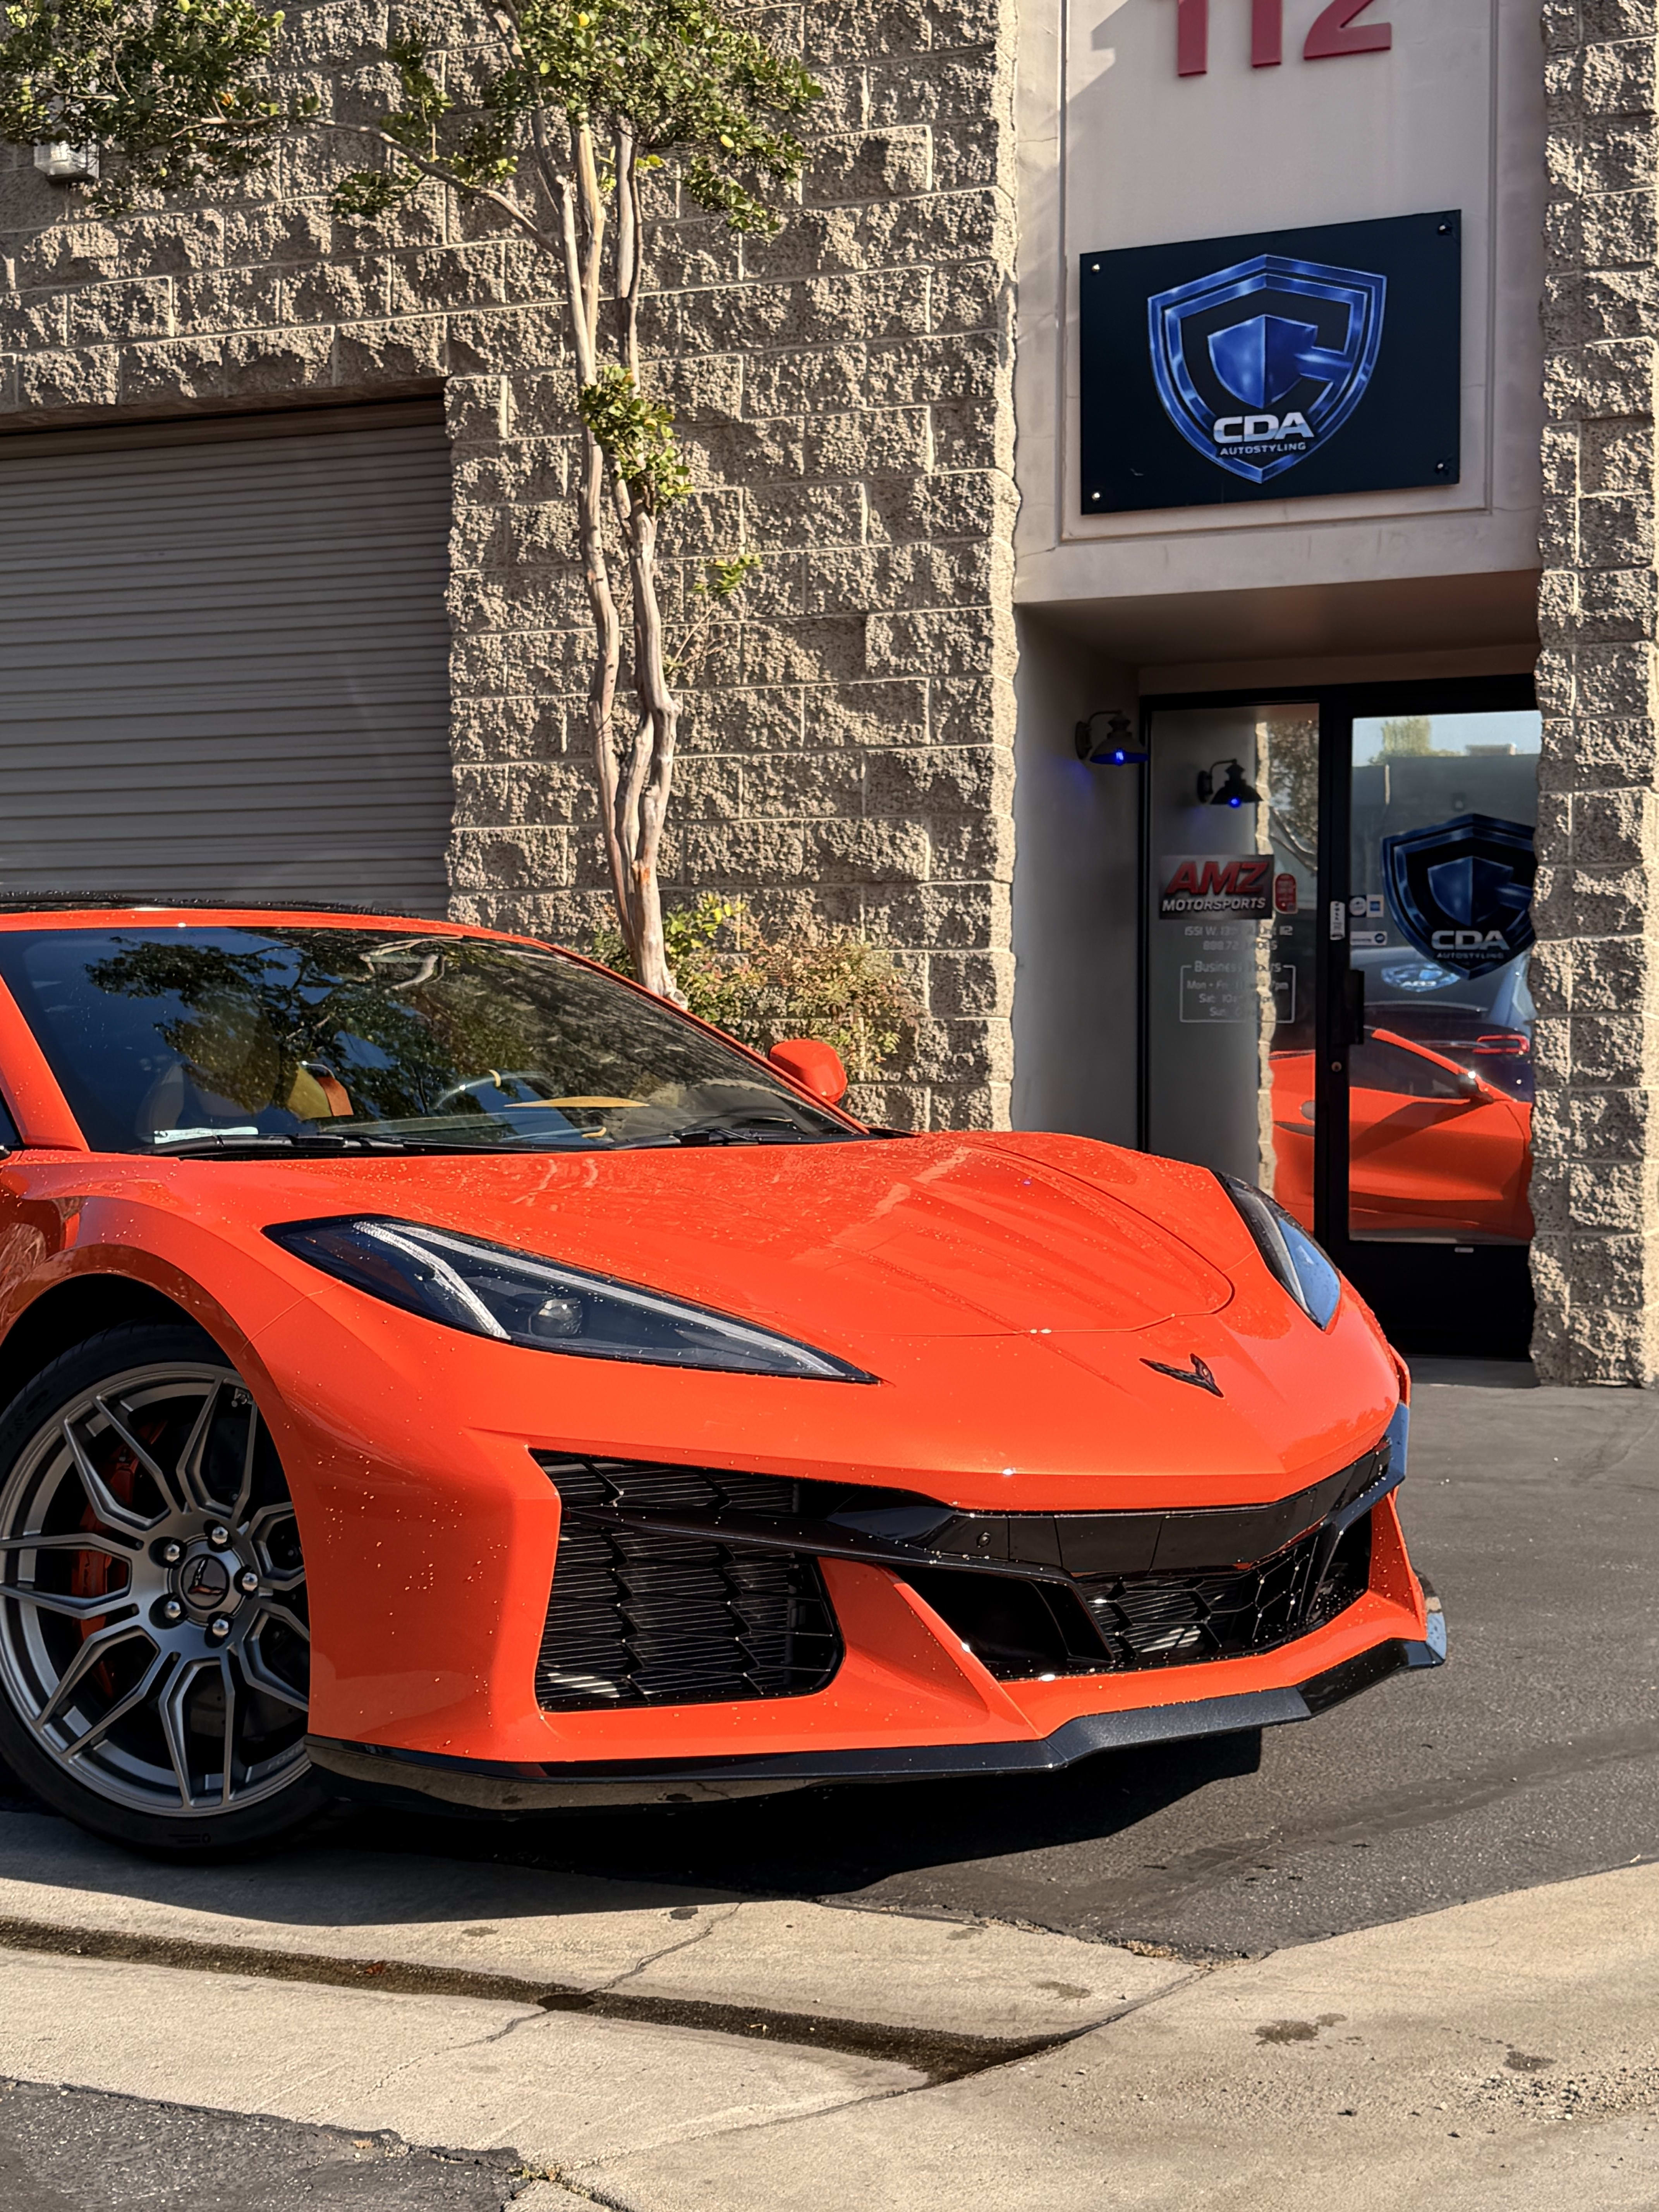
Complete Corvette Transformation
This Corvette project showcases our commitment to absolute perfection. Taking over a week to complete, we utilized our advanced hybrid installation method—combining precision pre-cut patterns with custom bulk-wrapped edges for maximum coverage and virtually invisible seams.
Full Body PPF
Comprehensive paint protection film coverage with meticulously wrapped edges.
Ceramic Defense
Premium ceramic coating applied to the paint, rims, and interior surfaces.
Window Tinting
High-performance ceramic window tint for superior heat rejection and UV protection.
TRUSTED BY CORVETTE ENTHUSIASTS
Hear directly from a Corvette owner about their experience with our premium paint protection services.
"The attention to detail and level of protection they provided for my Corvette is unmatched. It gives me complete peace of mind on the road."
Frequently Asked Questions
Corvette Protection Hub
Ready to Protect Your Corvette?
Join hundreds of satisfied Corvette owners across Southern California who trust CDA Auto Styling with their prized possessions.